
How to Plant Artificial Plants in Pots: A Practical Guide
By Peng Haitong · Published 21 October 2026
The simplest way to plant an artificial plant in a decorative pot is usually to leave it in its original weighted pot, raise it to the right height, pack the space around it so it cannot move, and cover the visible mechanics with a shallow decorative layer.
A loose-stem plant needs a firmer anchor, but the basic aim is the same: keep the plant stable, conceal the support and make the proportions between plant and pot feel deliberate. Potting an artificial plant changes its presentation and stability; it does not make an indoor plant suitable for outdoor use.
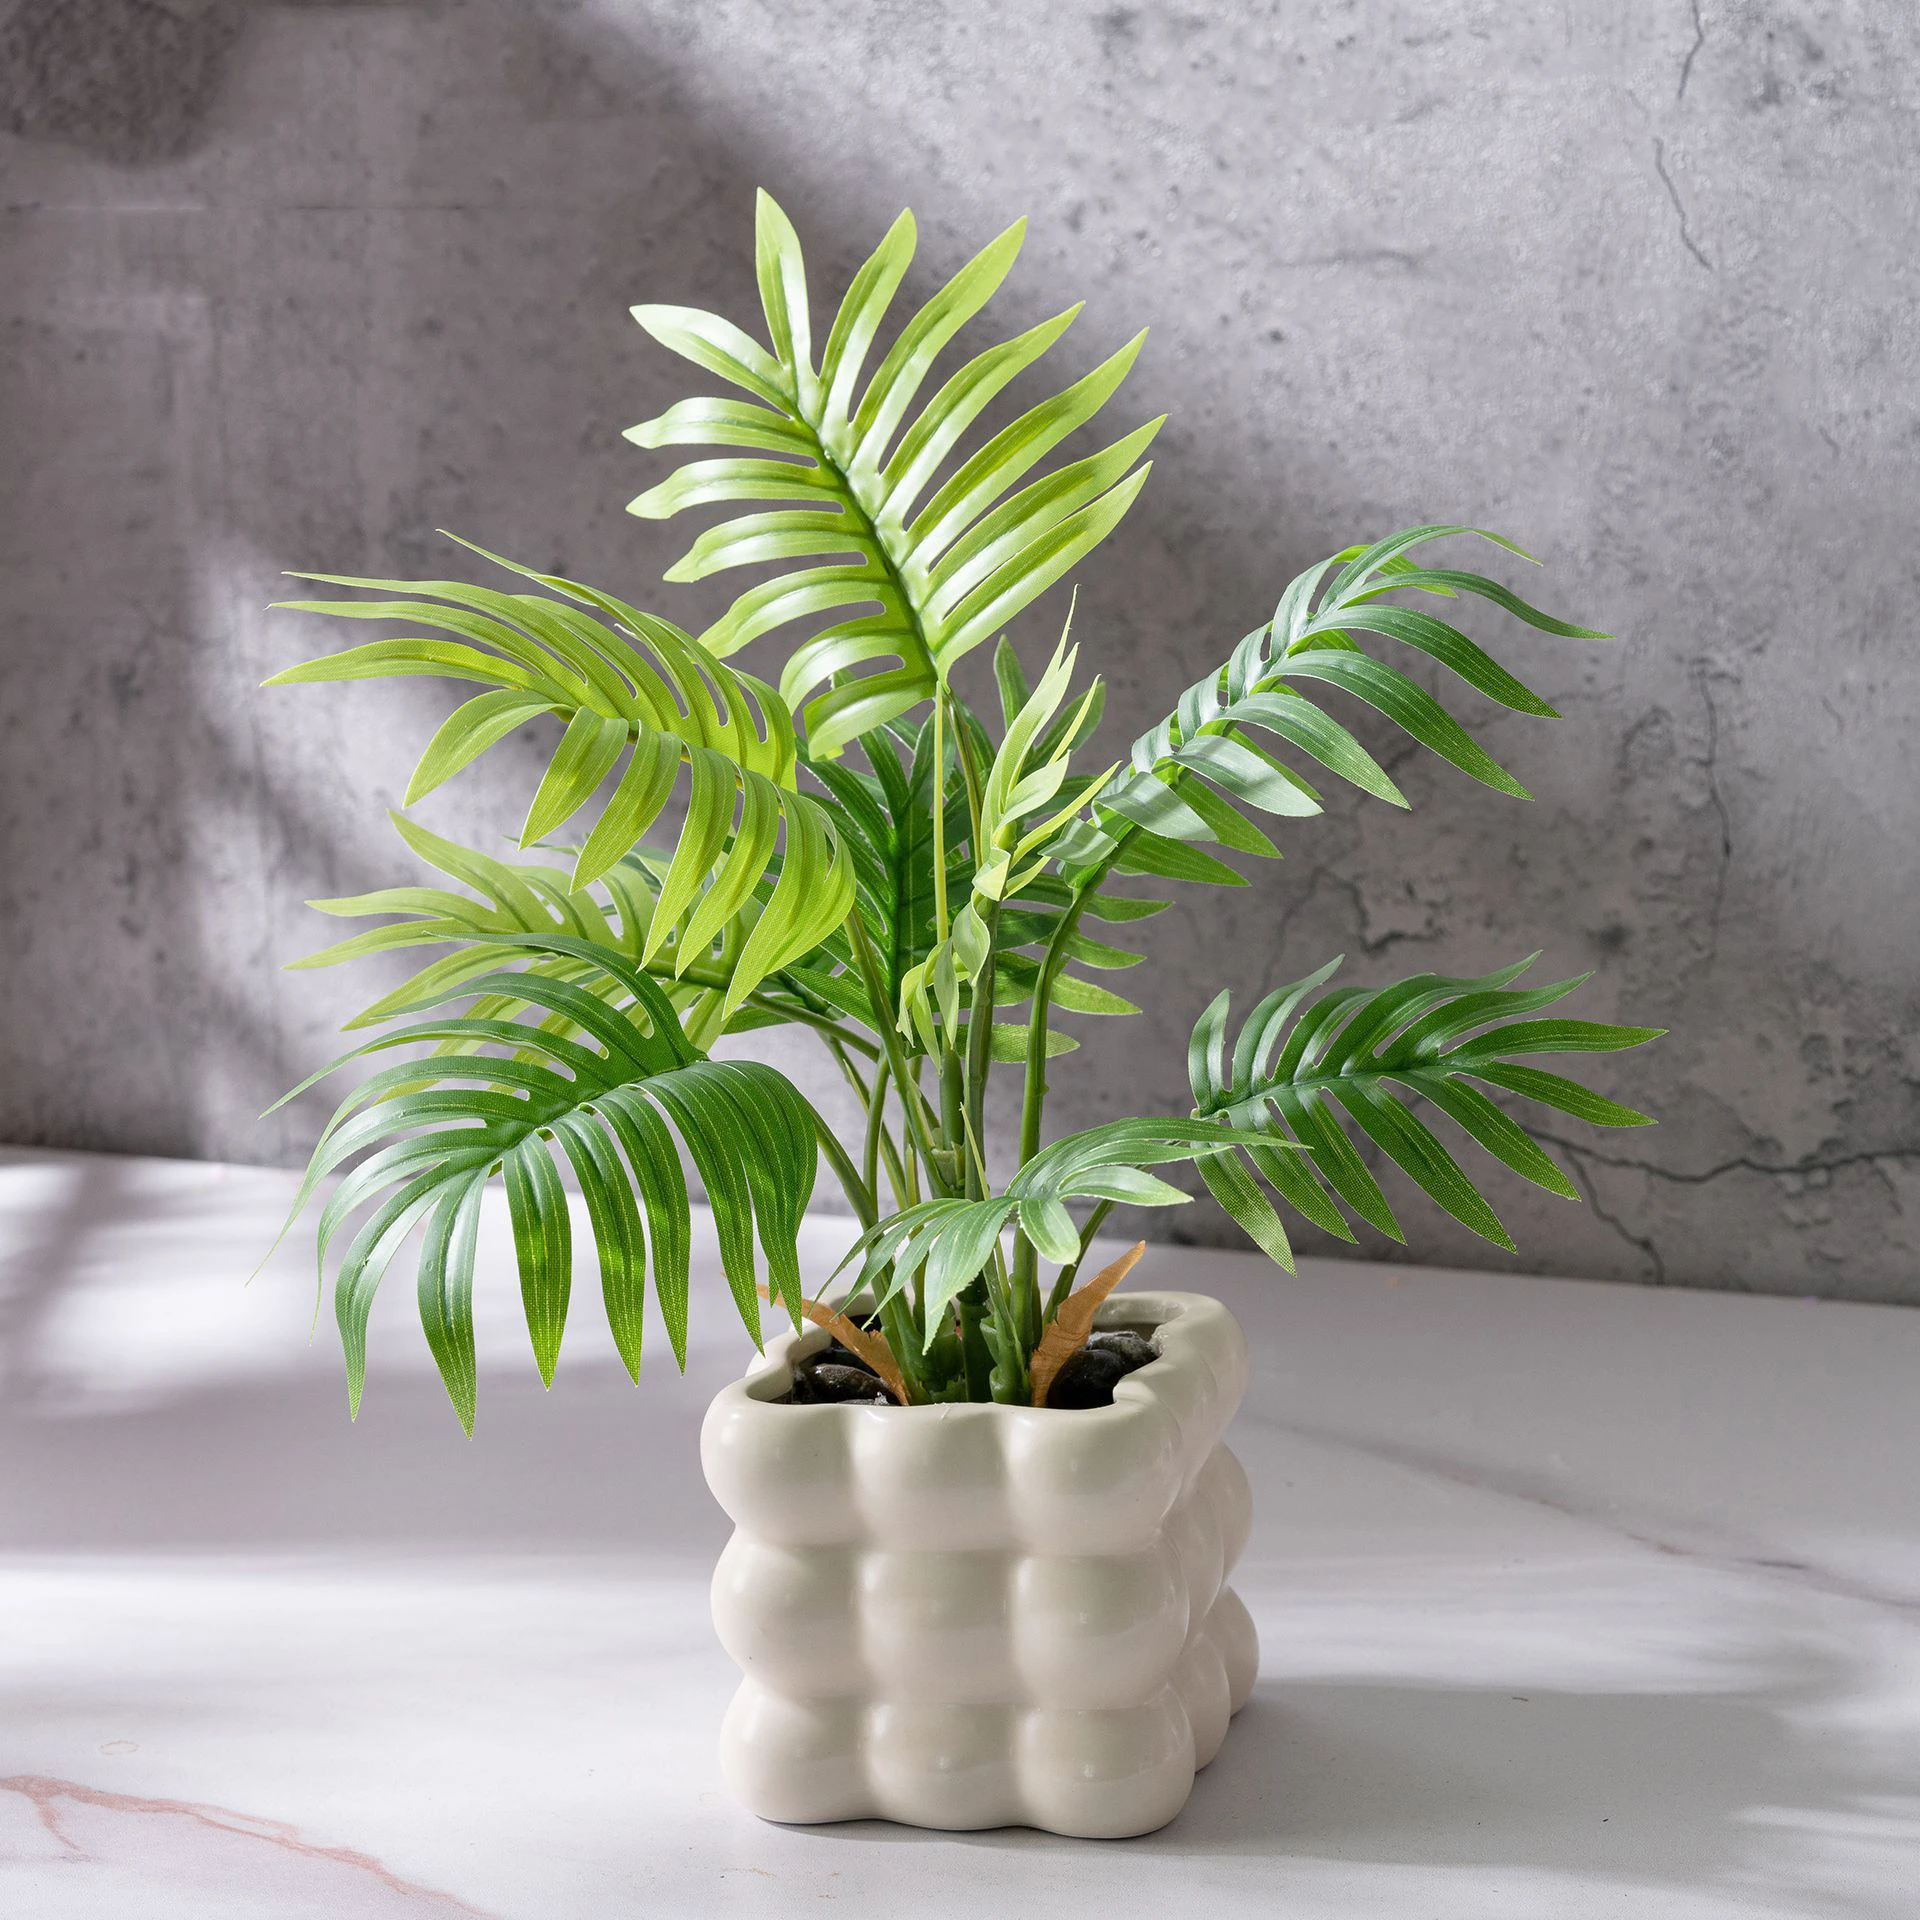
Check how the plant is constructed
Before choosing a pot or any filling material, look at the base of the artificial plant.
Many artificial plants arrive fixed into a small starter pot. It may not be attractive, but it is often weighted and provides a useful stable base. In this case, there is rarely a reason to remove the plant. The starter pot can simply sit inside a larger decorative planter.
Other plants arrive as a bare stem or trunk intended to be fixed into a container. These need an anchoring material that holds the stem upright without allowing it to turn or lean.
A plant that is already permanently arranged in a finished decorative pot may not need repotting at all. Placing that entire pot inside another container can make the base unnecessarily bulky.
Choose a pot by its opening, not only its outer width
The plant must physically pass through the narrowest part of the decorative pot. This matters with rounded, tapered and narrow-necked containers, where the outside may be much wider than the opening.
Measure:
- the width of the plant’s starter pot;
- the depth of the starter pot;
- the internal opening of the decorative pot;
- the usable internal depth.
The decorative pot should give you enough room to lower the starter pot into place and pack material around it. It should not be so wide that the plant looks lost in the middle.
The rim of the starter pot should normally sit a little below the decorative rim. This leaves enough space to conceal it with a top dressing without burying the lower leaves or trunk. A current UK planter fitting guide similarly recommends checking the internal opening and depth rather than relying on the planter’s outside dimensions.
The right proportions depend on the plant’s shape. A broad fern can sit comfortably in a lower, wider planter, while a tall tree usually needs a base with more visual and physical weight.
If you are still comparing plant sizes, the Artificial Plants collection shows the difference between smaller foliage pieces and taller floor plants. For compact shelves and work surfaces, the Small & Desk Plants collection gives a clearer sense of scale.
How to pot an artificial plant that already has a starter pot
1. Test the height before adding filler
Place the starter pot inside the decorative planter while it is still empty.
Check the plant from normal viewing height rather than looking straight down into the pot. If it sits too low, raise it on a firm, level support. An upturned spare pot, a stable block or a shallow layer of securely contained gravel can work, provided the base cannot tip or compress unevenly.
Do not decide the height from the foliage alone. Check where the trunk or stems appear to meet the pot. If that point sits too far below the rim, the plant can look as though it is disappearing into the container.
2. Add weight low in the planter when necessary
A small plant in a low pot may already be stable enough. A tall or top-heavy plant often benefits from additional weight at the bottom of the decorative container.
Keep that weight low and evenly distributed. The purpose is to reduce rocking and tipping, not simply to fill every empty space.
A wider base is generally more stable than a tall, narrow planter. For floor plants, also consider whether the display will stand near a doorway, a busy walkway or somewhere it may be knocked.
3. Centre the starter pot and check the plant’s angle
Place the starter pot in position and look at the plant from several sides. Artificial trunks and stems are not always perfectly straight, so the pot itself may need to sit slightly off-centre for the foliage above to look balanced.
This is the point to rotate the plant and find its strongest viewing angle. It is much easier to do now than after the sides have been packed.
4. Pack the space around the starter pot
Use dry packing material around the sides so the inner pot cannot slide, turn or rock.
The filling does not need to imitate compost throughout the whole planter. Its practical job is to hold the inner pot securely and support the chosen height. An artificial-plant assembly and care guide lists materials such as sand, pebbles and polystyrene blocks as possible supports, depending on the product and planter.
Add the material gradually and check the plant as you work. Packing one side heavily before the other can push the plant away from the intended position.
For a reversible indoor arrangement, avoid permanently bonding the plant into the pot unless the product instructions specifically call for it.
5. Conceal the starter pot with a top dressing
Once the plant is secure, cover the visible rim and packing material with a shallow decorative layer.
Possible finishes include:
- small pebbles or gravel for a clean, simple surface;
- bark for a softer woodland appearance;
- artificial moss around ferns and low foliage;
- larger stones used sparingly around a substantial trunk.
The same assembly guide notes that pebbles, chippings, moss or soil can be used as a visual top dressing. The choice is decorative rather than horticultural: an artificial plant has no roots that need feeding or watering.
Keep the layer shallow enough to remove easily. A deep surface covering can make later adjustments unnecessarily awkward.
6. Shape the foliage after the base is secure
Branches and leaves are often held close to the stem for packing. Spread them only after the plant is stable.
Work from the lower branches upwards. Open each section gradually, rather than bending every branch to the same angle. Natural plants rarely grow as a perfectly even circle, so a small amount of asymmetry usually looks more convincing.
Check the silhouette from the front, both sides and from across the room. A branch that seems untidy at arm’s length may be the one that stops the finished plant looking too regular.
How to secure a loose artificial plant stem
A bare artificial stem needs more support than a plant already fixed into a starter pot.
First, confirm the intended fixing method in the product instructions. Different stems, trunks and planters may require different materials. Place any stabilising weight at the bottom, hold the stem at the desired height and angle, and pack the support material evenly around it.
Do not rely on a thin decorative top layer to hold a tall stem. Pebbles or moss can hide the fixing, but the structure beneath them must provide the stability.
If the plant is particularly tall, heavy or intended for a public or exposed position, a professional or manufacturer-specified fixing method may be more appropriate than a temporary household arrangement.
Indoor potting does not make a plant outdoor-safe
A heavy pot may help a plant stand upright, but stability is only one part of outdoor suitability.
The plant, its internal components, the planter and the fixing method must all be suitable for the conditions in which they will be used. Sunlight, moisture and wind affect different products differently.
Do not assume that an artificial plant is weather-resistant because it has been placed in an outdoor planter. Use it outside only when the product information explicitly confirms that application, and follow any fixing instructions supplied for exposed locations.
Common potting mistakes
Choosing a planter that is too large
A large gap around a small plant is harder to conceal and can make the foliage look undersized. The container should support the plant visually rather than becoming the main feature.
Setting the plant too low
If the original pot sits well below the decorative rim, the trunk can appear shortened and the lower foliage may be buried. Raise the base before packing the sides.
Using the top dressing as the main support
Moss, bark and decorative stones finish the surface. They should not be expected to stabilise a tall plant unless the supporting structure underneath is already secure.
Making the arrangement permanent too quickly
A reversible drop-in method makes it easier to change the pot, correct the height or clean the display later. Permanent adhesives and setting materials should be used only when the installation genuinely requires them.
Making every branch perfectly even
Identical spacing can make artificial foliage look more mechanical. Shape the plant gradually and preserve some variation in height, direction and spacing.
Can you repot an artificial plant later?
Yes. If the original weighted pot has been retained and the surrounding materials remain removable, the plant can usually be lifted out and transferred to another planter.
Remove the top dressing first, take out the side packing and lift the plant by its starter pot rather than pulling the foliage or main stem. This is one reason a reversible arrangement is useful for ordinary indoor styling: the decorative pot can change without disturbing the plant’s original base.